Stitch and Manipulate

Example of papers

Printed papers - previously done


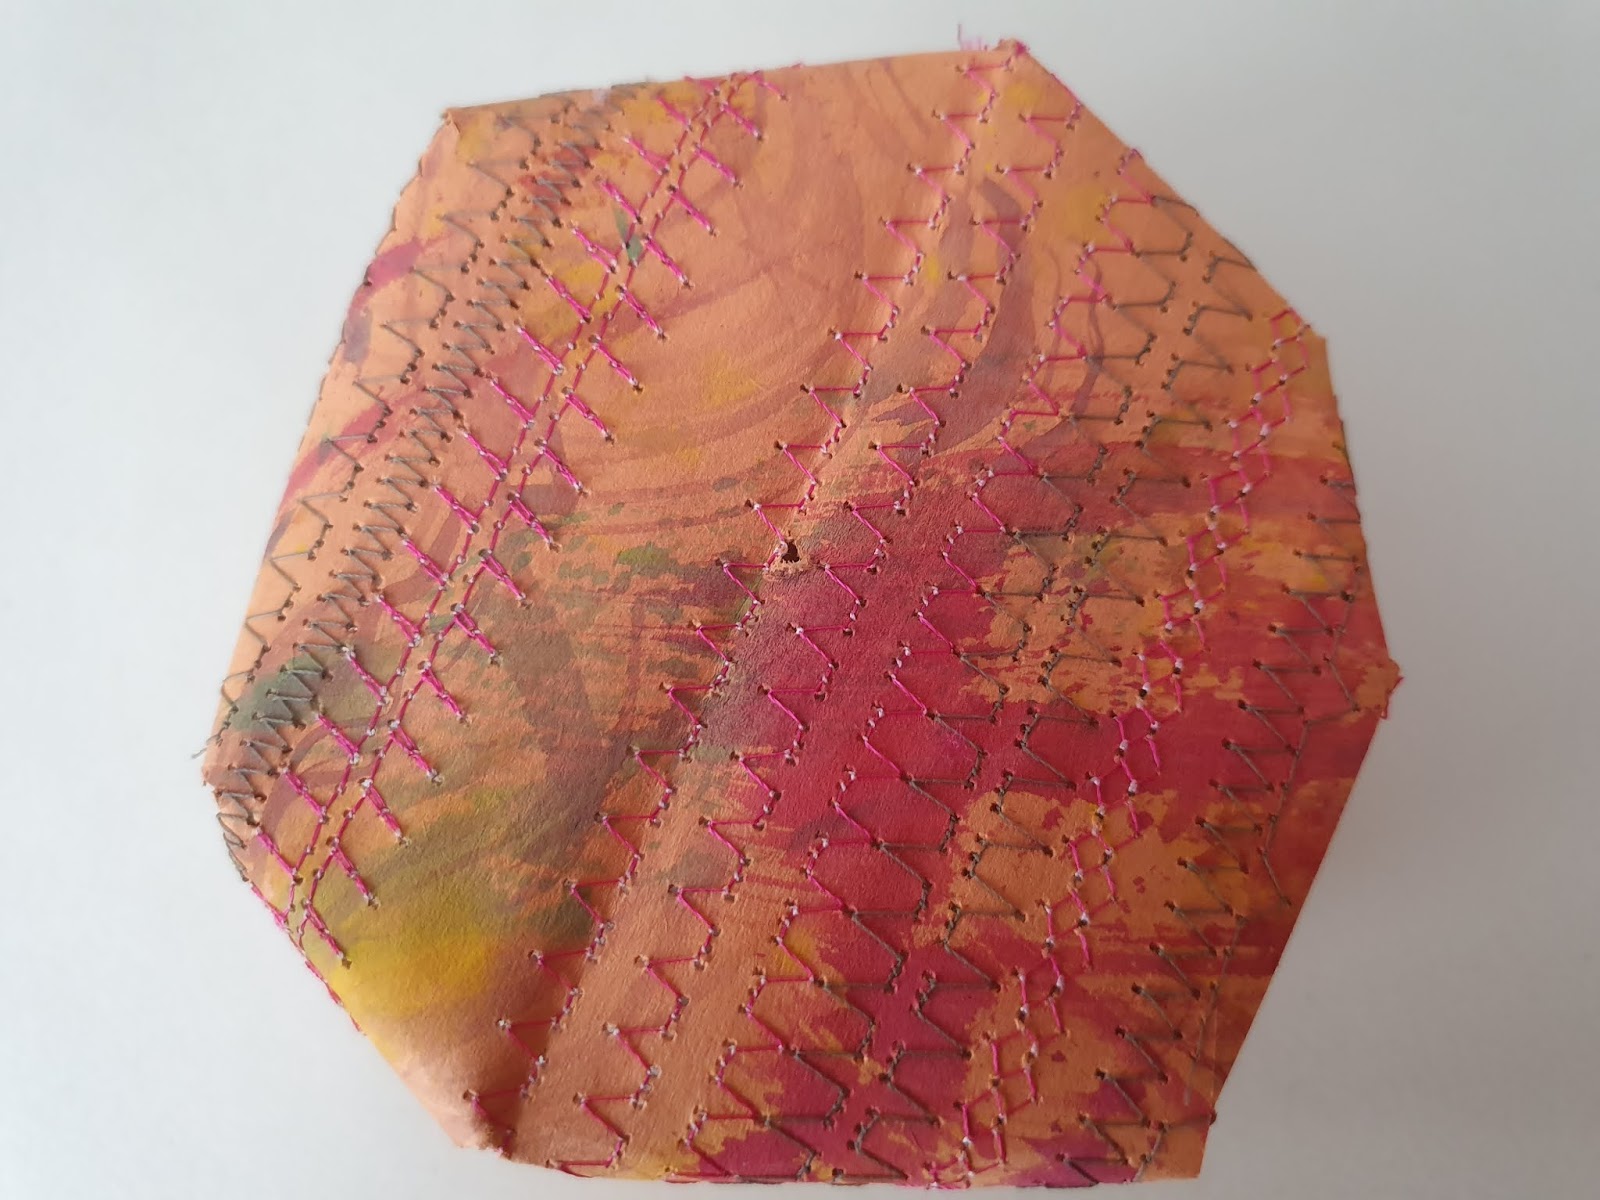
Painted Paper pattern stitched and cut

Reverse of above

Stenciled paper stitched foot on, cut and curled

Cut on the diagonal so that I could push the edges through small slits cut into the paper


Painted and a lace stencil used then sewn with foot on both sides folded

A different angle of above

Further angle of previous

A triangle piece of the same paper cut into more and folded

Same piece as above

Same as above different angle

Experimenting with circles


Experimenting with a rectangle

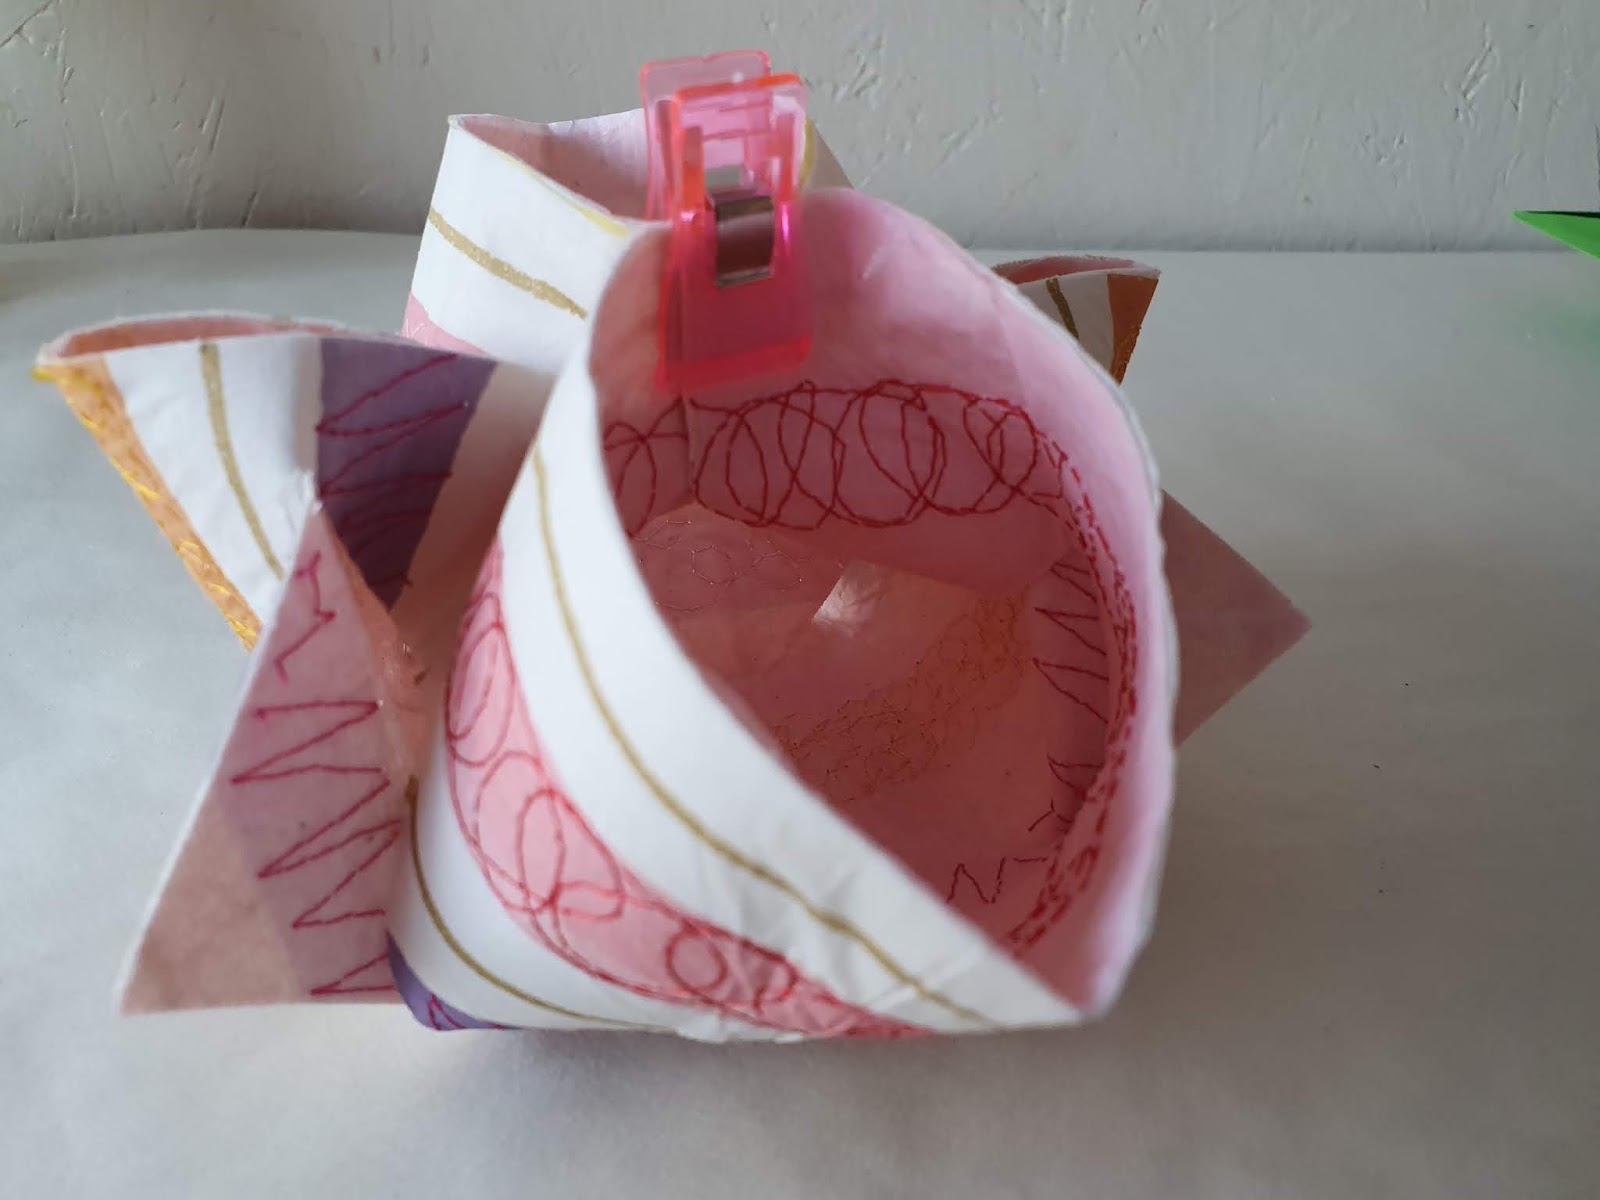
Large holed lace used as a stencil on plain white paper then sewn with foot on and ripped pieces of tissue paper added.

Looking down from above

The base of the "bowl" shows my layers of tissue paper I added to the printed and sewn paper

A circle finished idea
This is paper that I printed text on then painted using a sponge and brush then sewn with foot on and finally cut and glued using the circle base as previously shown.


I love the way the light appears through the sewn holes

The threads used were Sulky and a size 90 needle foot on and basic patterns in straight lines.
Stitching thinner papers

Stitched layers with patterns and free machine stitching

Reverse

Napkin layers, stitched, cut and twisted


Reverse of my napkin layers


Paper napkin Bondaweb, calico, Bondaweb and tissue paper

Reverse showing layers

Stitched, cut and folded images


Draft Cut and Folded blue card images below.
I sewed my finished napkin layers and then copied it to achieve my finished piece.


Acrylic Wax

Painted shiny paper using a palette knife and then acrylic wax on top.
I tried stitching this but the paper gets stuck on the sewing bed and bulks up. I will keep it for future use.

Plain paper, fan brush and acrylics
then waxed.

Plain green paper painted using acrylics with a sponge

Same paper opposite side letting the paint run, pattern stitched with normal foot on.

The above paper cut in thick waves rolled into a cone at the top and the cut lengths curled slightly


another angle

Close up the stitches look like holes

It is stitched with various threads
Wire Mesh

Different types of copper wire mesh, the one at the top is almost like a knitted fine mesh - used for sealing gaps in bricks to keep rodents out.
The lower piece is a much firmer piece of A4 copper mesh which I experimented with a heat gun to discolour.

I began sewing using a large zig zag - I was too worried my needles would break to go smaller!

I changed to free motion and stitched circles in whip stitch, still they didn't break!

I also couched ribbon and orange wool using a free motion zig zag stitch

The reverse of the piece showing the tissue paper I used as a backing.

More couching

I tore off some of the tissue paper to accentuate the holes and show more of the stitching

These are the cut and manipulated images using the couched wools as cut lines


Cable stitch, free embroidery on mesh

Slightly finer Copper mesh with a white backing, free embroidery cable stitched

Cut and twisted

Close up
Layers with wire mesh

Chiffon in pink hues one side and yellow the other with blue and yellow snippets of chiffon trapped in between the outer layer of chiffon and the Copper mesh.
One row of free embroidery. Foot on machine embroidered in various stitches and threads for the rest.

The opposite side


Close up before cutting and manipulating

I cut the layers, leaving the threads and the surplus chiffon for contrast and texture.

I manipulated the cut layers and tied the surplus threads together and finally bent it into a circle

